In this post, I will shine a light on using Docker as a means to test and learn new technologies without too much of an overhead.
With Docker basics laid out in this post, you can deploy and start testing that new JenkinsX, GitlabCI or any other web server-based tool in a mater of minutes.
Terms you will need to know
- Docker - a set of platform as a service (PaaS) products that use OS-level virtualization to deliver software in packages called containers.
- Docker hub - Official public registry containing docker images
- Docker Image - A package with all the dependencies and information needed to create a container.
- Docker Container is an instance of a Docker image. A container represents the execution of a single application, process, or service.
Prerequisites
- Machine running Linux with access to terminal
(Should also be possible from "Docker for Windows") - Docker - Debian 10 instructions
Example use-case - Deploying Gitlab locally to test Gitlab CI
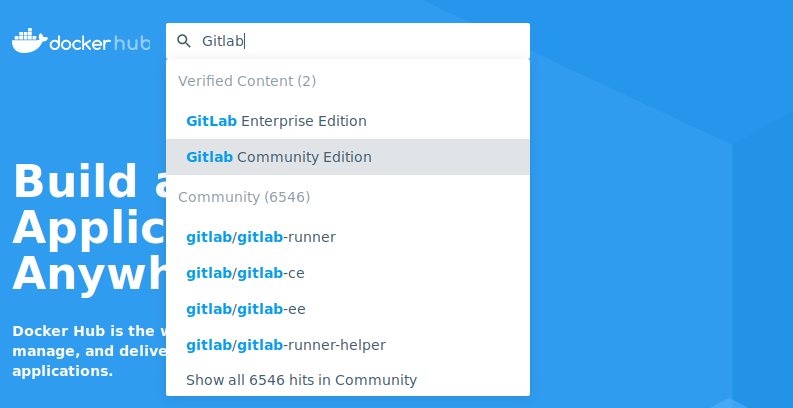
- You want to find out what GitlabCI is like, you simply go to docker hub and enter Gitlab in the search window, you will see results right away:

We can select the free Community Edition, and read through the page to and find the setup instructions, in this case, there is a link pointing to https://docs.gitlab.com/omnibus/docker/README.html
Finding out how the docker image is configured and how it needs to be run is maybe the biggest hurdle in the process, because the weak standardization of docker hub pages, the info is not always there or in the same place.
Anyways this time we have a link pointing to the official Gitlab documentation page where we can see the ports that need to be exposed and the directory that needs to be added to a volume to get persistence.
This is the terminal command that needs to be executed (in one go):
docker run --detach \
  --hostname gitlab.example.com \
  --publish 443:443 --publish 80:80 --publish 22:22 \
  --name gitlab \
  --restart always \
  --volume /srv/gitlab/config:/etc/gitlab \
  --volume /srv/gitlab/logs:/var/log/gitlab \
  --volume /srv/gitlab/data:/var/opt/gitlab \
  gitlab/gitlab-ce:latest
To clarify, docker run will download the image (specified on the end of the command) if not available locally and run it with the following arguments:
--detachor-dwill run the container as a background process, detach it from the current terminal--hostname gitlab.example.com- assign a hostname to the container-por--publishport_on_host_machine:container_port``` will map the container portn(specified second) to the portnof the parent system(machine running docker)--name gitlabassigns a name to the container--restart alwaysrestarts container in case it's stopped by an error--volume /DIR/A:/DIR/B(persistent volume) links n directory/DIR/Aon the host system to/DIR/Bdirectory inside of the container to enable persistence even if the current container is destroyed and recreated. We need to take care that the/DIR/Adirectory paths exist on our system.gitlab/gitlab-ce:latestis the docker image to be used
Docker commands explanations can be found in the docs here
So let's just keep in mind that the HTTP and HTTPS ports need to be free on our machine, or we need to use different ones. Create the directories needed and run the slightly modified command, I'll assume you have the Project folder already:
mkdir /home/user/projects/gitlab \
  /home/user/projects/gitlab/config \
  /home/user/projects/gitlab/logs \
  /home/user/projects/gitlab/data
docker run --detach \
  --hostname gitlab.example.com \
  --publish 443:443 --publish 80:80 --publish 22:22 \
  --name gitlab \
  --restart always \
  --volume /home/<user>/projects/gitlab/config:/etc/gitlab \
  --volume /home/<user>/projects/gitlab/logs:/var/log/gitlab \
  --volume /home/<user>/projects/gitlab/data:/var/opt/gitlab \
  gitlab/gitlab-ce:latest
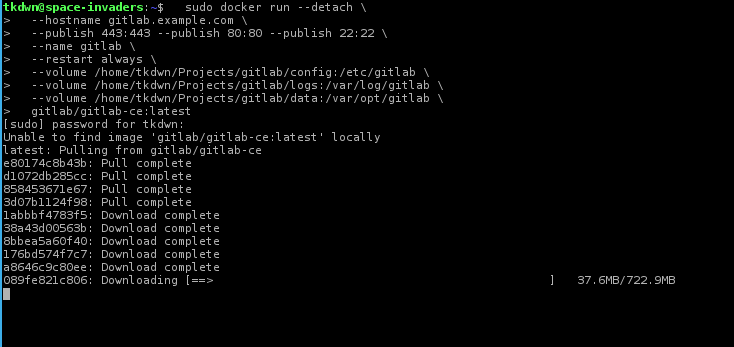
Now we just wait for the image to download and container to start

Images are downloaded and container started, We can check the container status with docker ps and we see that Gitlab container setup is still in progress

Let's try that one more time

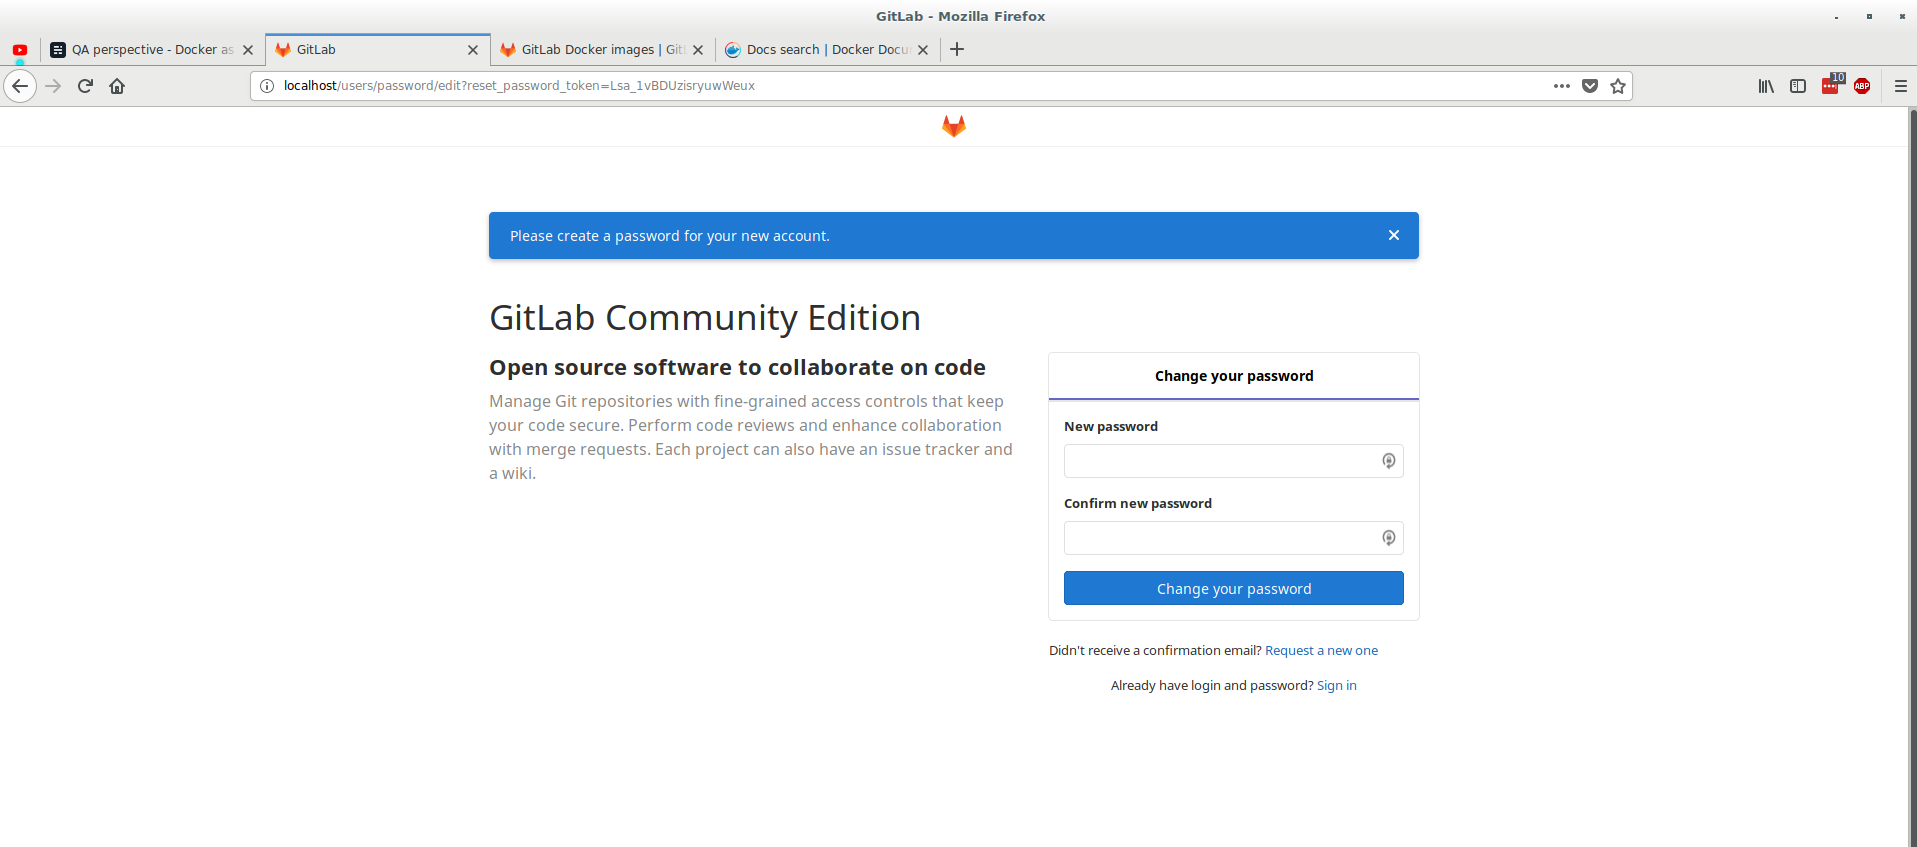
OK, so let's check out what we have running now, open a browser and go to localhost:80

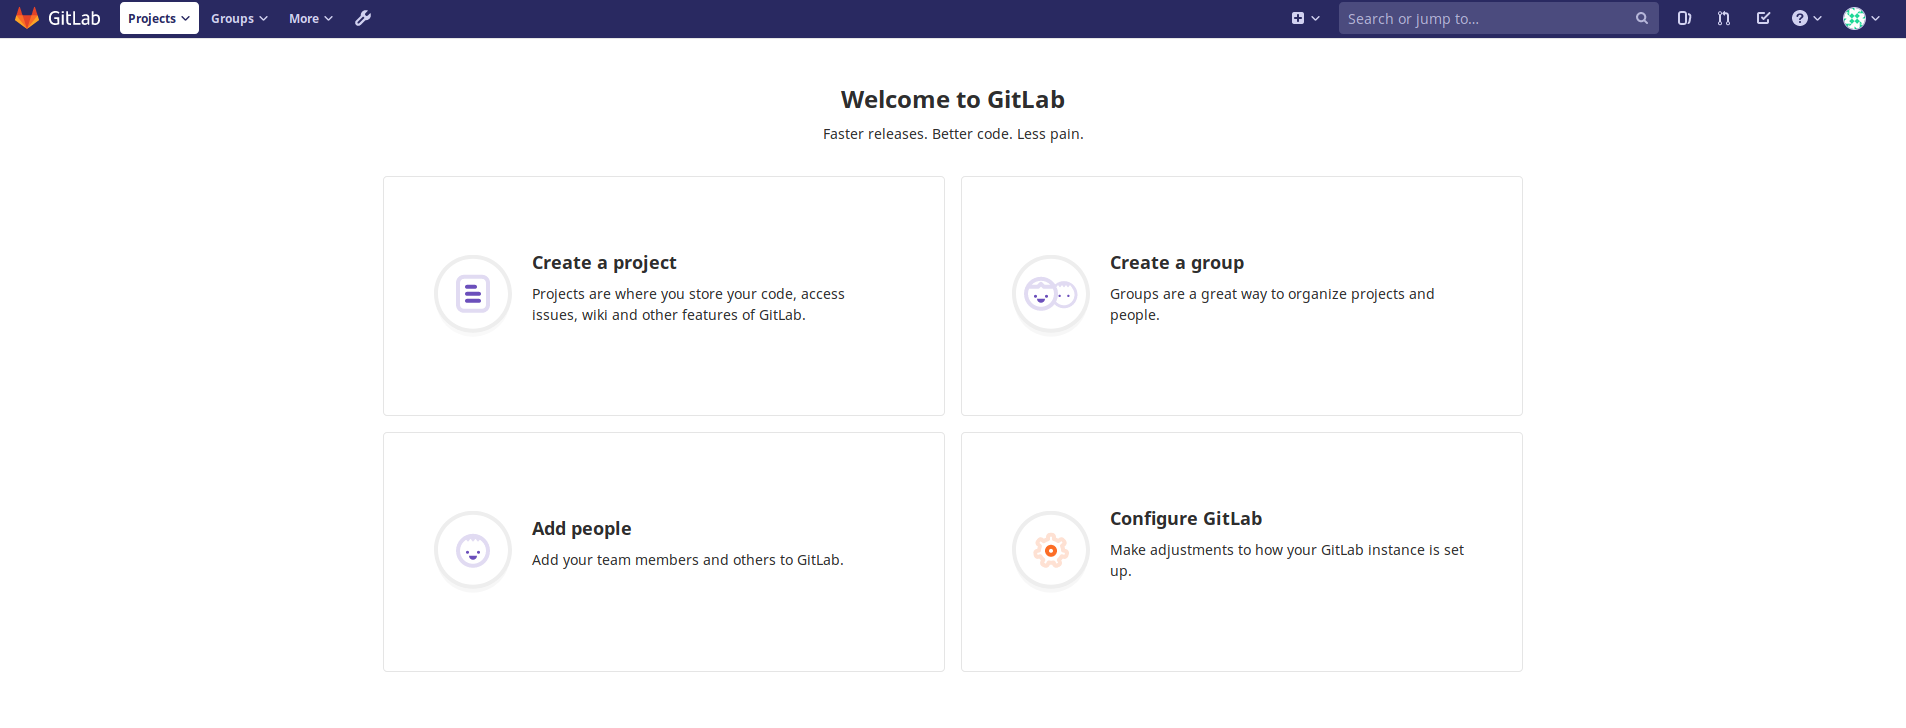
Easy-peasy, it works, now we can set up accounts, play around and edit first gitlab-ci.yml files


Now we can add runners and create our first Gitlab CI following the examples stated here:
https://docs.gitlab.com/ee/ci/introduction/
But that's a story for another post, for now, you can try on your own or simply stop the container by typing docker stop gitlab and later start it again with docker start gitlab
